


As Spring approaches and the trails begin to thaw, there's no better time to start panning your next backpacking trip in 2026. However, for those preparing for their first journey into the wild or don't know what are necessary to pack for backpacking can be overwhelming.
The struggle is real: pack too much, and you will be burdened by excessive weight; pack too little, and you might encounter unexpected situations that you aren't prepared to handle. Finding that perfect balance between lightweight efficiency and essential safety is the key to a successful experience.
We've curated a full backpacking gear list for beginners to take the guesswork out of your preparation in this comprehensive guide. We will show you how to choose the most suitable equipment—from specialized sleeping systems to must-have survival tools—ensuring your journey into the wild is not only safe but exceptionally comfortable.
How to Plan Your First Backpacking Trip?
Backpacking isn’t just about carrying a heavy pack; it’s about smart minimalism. To reach the best views without exhausting yourself, you must learn the art of trade-offs: choosing only the essentials so you can go further with less effort.
To plan like a professional, I recommend using the "5-W Framework" to audit your trip before buying any gear:
Who
Are you going solo or with someone else? (Affects shared gear like tents/air pads).
Where
Research the specific terrain. Is it jagged rock or soft forest floor? If it's the former, you may need to pack extra medical supplies for scrapes and a pair of trekking poles to protect your knees and maintain balance on uneven ground.
When
Check historical weather data for your specific dates. Try to avoid the monsoon season or periods of heavy, continuous rain, as wet conditions significantly increase the risk and difficulty for beginners.
Why
Is this a high-mileage challenge or a photography-focused camp? You need to calculate your pack volume accordingly. If you're carrying heavy camera gear or professional tripods, you’ll need to be even more aggressive in cutting weight from your basic essentials.
Water
Identify reliable water sources every 5–10 miles. Since water is one of the heaviest items in your pack, knowing exactly where to refill dictates your carry weight and bottle capacity.
Once you have these answers, you can move from "theoretical planning" to "physical preparation." To master the logistics, internalize these three core philosophies to ensure your gear supports your plan:
Pillars 1: Prioritize Lightweight Backpacking Gear
The most common rookie mistake is over-packing for "what if" scenarios. If you carry a heavy, bulky piece of gear, you are essentially "spending" tomorrow's energy today.
A professional plan focuses on Base Weight. This is why we advocate for multipurpose equipment. For instance, instead of carrying a separate lantern and inflator, choose a Mini Pump that doubles as a camping lantern. Every ounce saved is a gift to your stamina for the miles ahead.
Pillars 2: Selecting Gear for Time and Place (The R-Value Strategy)
There is no such thing as "good" or "bad" gear—only gear that is appropriate for the specific environment. A professional gear guide emphasizes technical specs over aesthetics.
When choosing a sleeping pad, don't just look at its thickness. Instead, focus on the R-Value (Thermal Resistance). A pad that is "comfy" but has a low R-Value will allow the cold ground to sap your body heat, leading to a restless, shivering night regardless of your sleeping bag's quality.
Pillars 3: Master Space-Saving Packing Hacks
Organization is a survival skill. A well-planned pack should be "modular" to maximize space and efficiency.
Using waterproof storage bags or vacuum systems helps you compress soft goods like clothes and down jackets. This not only saves significant space for items like cameras or drones but also ensures you can locate dry clothes or emergency gear instantly when the weather turns.
Packing List for Traveling
To help you prepare for your first journey, we have curated this backpacking gear list around four essential pillars. We've handpicked each item to ensure you have a reliable, high performance kit that covers everything from survival to comfort. Here is the breakdown of the essentials:
1. Lightweight Backpack
Technical Pack
When it comes to choosing your first pack, the golden rule is: better to have a bit too much space than not enough. You will almost always find yourself carrying more than you initially imagined. Even if your gear list is minimal, most modern packs feature compression straps to stabilize a smaller load.
For a standard short-term backpacking trip, we recommend a capacity of 60 to 70 liters. This provides enough room for your essentials while leaving space for "extra" hobbyist gear. We also suggest opting for rugged, practical colors like dark grey or deep blue, which hide trail dirt and withstand the wear and tear of the wilderness.
If possible, try before you buy. Visit a local outdoor store and test different models with weighted bags inside to simulate a real load. Pay close attention to how the weight is distributed between your shoulders and hips. If you are purchasing online, prioritize adjustable sizing, ergonomic comfort, and functional accessibility. Ultimately, your backpack is your closest companion on the trail; finding one that fits your body's curves perfectly is the best investment you can make for your first hiking trip.
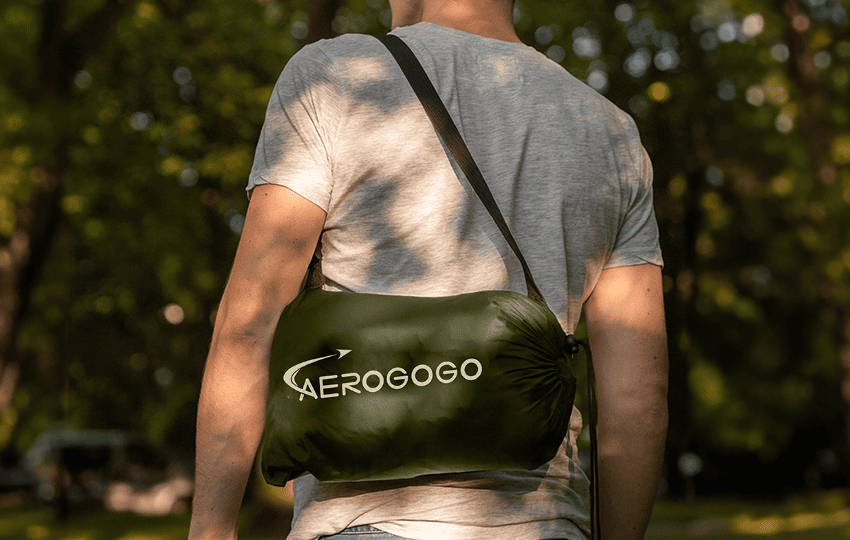
Vacuum Bags
Think of vacuum travel bags like a marathon runner's shoes - using the right ones makes the whole journey feel ten times easier. In my experience, a good set of bags does more than just organize your gear; they are your best defense against unexpected rain or humid climates. There's nothing worse than finishing a long hike only to find your "dry" clothes are damp. What's more, having everything modularly packed means you'll never have to dig through your entire pack just to find a fresh pair of socks.
After testing quite a few brands, I've found that the Aerogogo Vacuum Travel Bag offers the best bang for your buck. They're made of a rugged, waterproof nylon that doesn't feel flimsy, and the double-layer zipper keeps the seal tight. When you use them with a mini pump, they can compress your clothes by about 60%. It's like magic for your pack space. One little detail I love? They have built-in hooks, so you can actually attach a strap and use one as a cross-body bag for short walks around camp.
|
Features |
Regular Stuff Sacks |
Vacuum Travel Bags |
|
Compression Capability |
10%-20% |
Up to 60% |
|
Weather Protection |
Water-resistant only |
100% Waterproof & Airtight |
|
Storage Capacity |
Wastes Bag Space |
Fits 2x More Gear |
|
User Experience |
Struggle to squeeze |
Quick & Effortless |
2. Sleep System
Sleeping Bag
After a long day on the way, your sleep system is what stands between a restless night and a great adventure. Let's start with the sleeping bag. If you are a beginner, don't get bogged down by every technical, just focus on the "Comfort Rating" rather than "Extreme Limit". What you need is keeping you warm in the actual temperatures you"ll be facing, not just one keeping you alive in a blizzard.
For most first-timers, I recommend a Down Sleeping Bag if your budget allows. Down is incredibly compressible and has a much better warmth-to-weight ratio than synthetic materials. However, if you're heading somewhere consistently damp, a Synthetic Bag might be a better bet since it still stays warm when wet. If you're looking for a solid starter bag without spending a fortune, brands like Oaskys or MalloMe are popular go-to options for beginners. Whether you pick a lightweight down bag or a budget-friendly synthetic one, the goal is always the same: Sleeping warm and waking up refreshed.
Air Mattress
A common mistake I see beginners make is spending their entire budget on a fancy sleeping bag while grabbing the cheapest sleeping mattress they can find. Trust me, the ground will suck the heat right out of your body faster than air will. When you're choosing a mattress, don't just look at how sick or soft it is; the most important stat is the R-Value.
Think of the R-Value as your insulation rating. If you're out in the spring or fall, you'll want an R-Value between 2 and 3. If you're heading somewhere colder or higher up, aim for 4 or above.
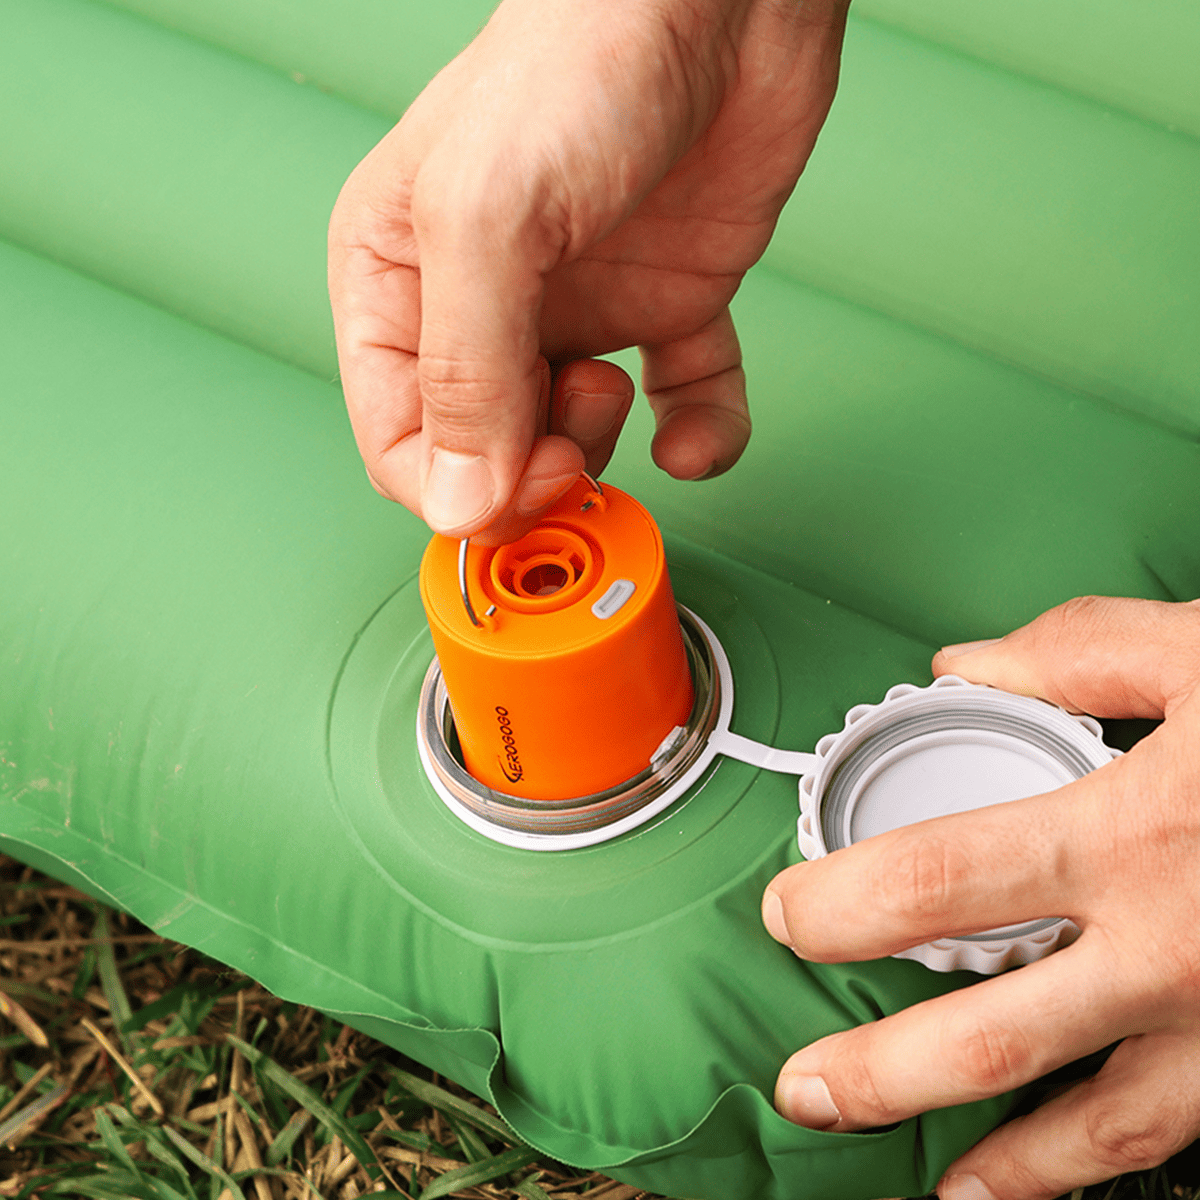
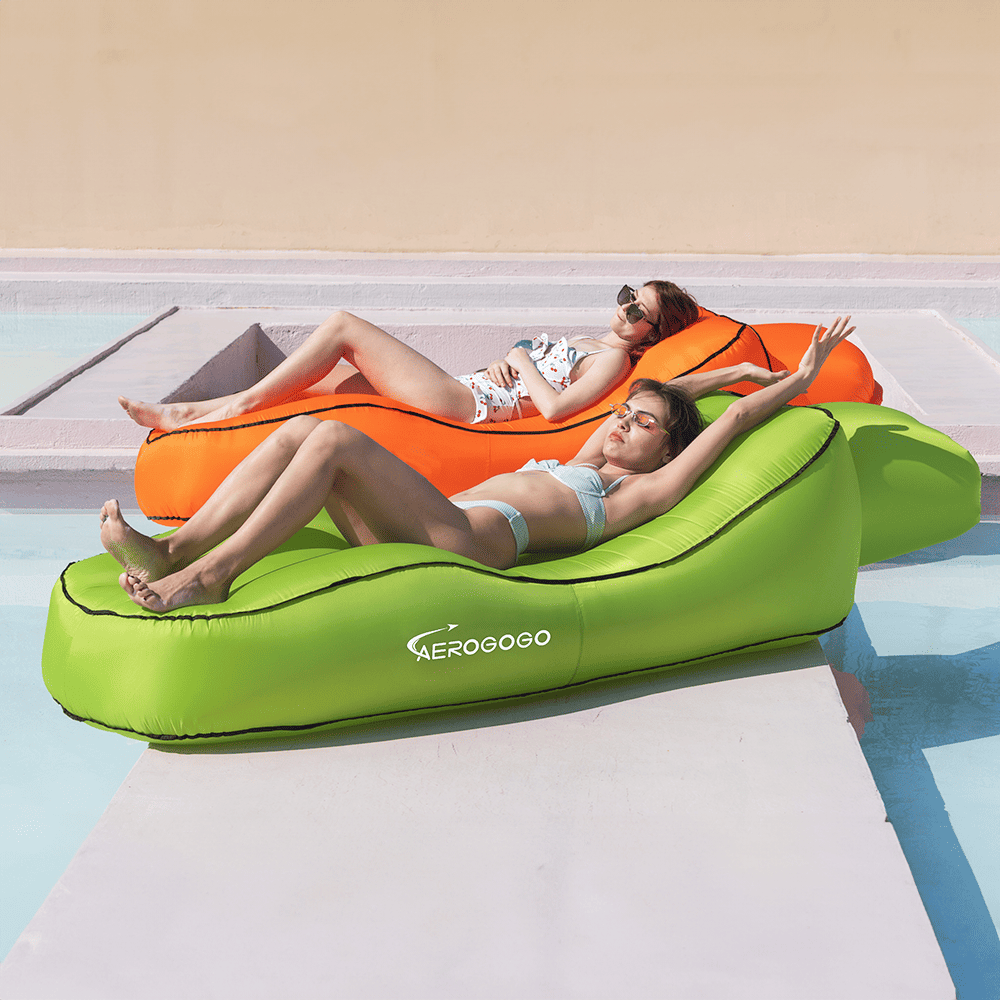
Since I often go on the trips in the winter, I always choose pads with a high R-Value. Currently, I'm using the GM4 Mattress, which has an R-Value of 5. Inside the tent, it keeps the tempreature close to your body heat, which is a lifesaver in the cold. It's about 10cm thick, so it's incredibly comfortabe. BTW, a cool detail I love is that comes with snaps, you can easily join tow single pads together to create a double sized mattress if you have a partner. I use a mini air pump to inflate and deflate the mattress. I haven't officially timed it, but it feels incredibly fast. Maybe 60 seconds or so? While the pump does its thing, I can focus on other camp chores. Before I know it, the mattress is fully prepped, and I can finally lie down and have a rest.
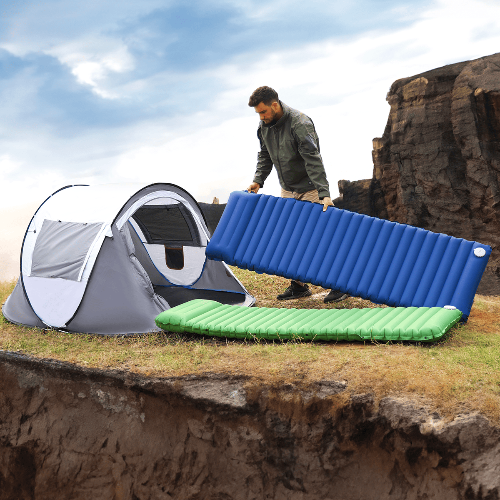
Tent
When you're choosing a tent, the most important factor is weight. Remember, your're the one who has to carry this on your back for miles, so every ounce counts. For your first trip, I highly recommend looking for an ultralight tent. Even if you're travelling solo, I usually suggest a 2-person size. It gives you enough extra room to keep you gear inside the tent with you, protected from rain and dew, without adding too much bulk to your pack.
Keep an eye on the "trail weight" vs. "packaged weight" when shopping. A good ultralight 2-person tent should ideally stay under 2kg. Since we've already saved so much space by compressing our sleeping bag and clothes into travel vacuum bags, carrying a 2-person size tent becomes much easier. It's all about that balance: minimizing the weight of your shelter so you don't feel like a pack mule, but keeping enough space so you're not cramped at night.
3. Tools
Once your big items are sorted, it's the small things in your pack that determine how smoothly your day actually goes. I'm a big believer that the right tools should make your life easier and simpler. You don't need a gadget for everything, but you do need a few high-quality "problem solvers" that save you time and physical effort.
Pocket Knife
For a reliable companion on the trip, I always suggest a versatile multi-tool. You don't need anything overly fancy, but it should at least cover the basics: a can opener, wire cutter, wood saw, and screwdriver. You don't have to obsess over getting the absolute smallest "pocket size" either; most of those tools are only about the size of your palm anyway, which I find much more practical to grip and use.
I love cooking my own meals when I'm camping, and I often bring along canned food like spam or beans. Having this all-in-one knife is a lifesaver, it lets me pop open a can of lunch meat in seconds so I can get straight to enjoying a hot, delicious meal without fumbling around.
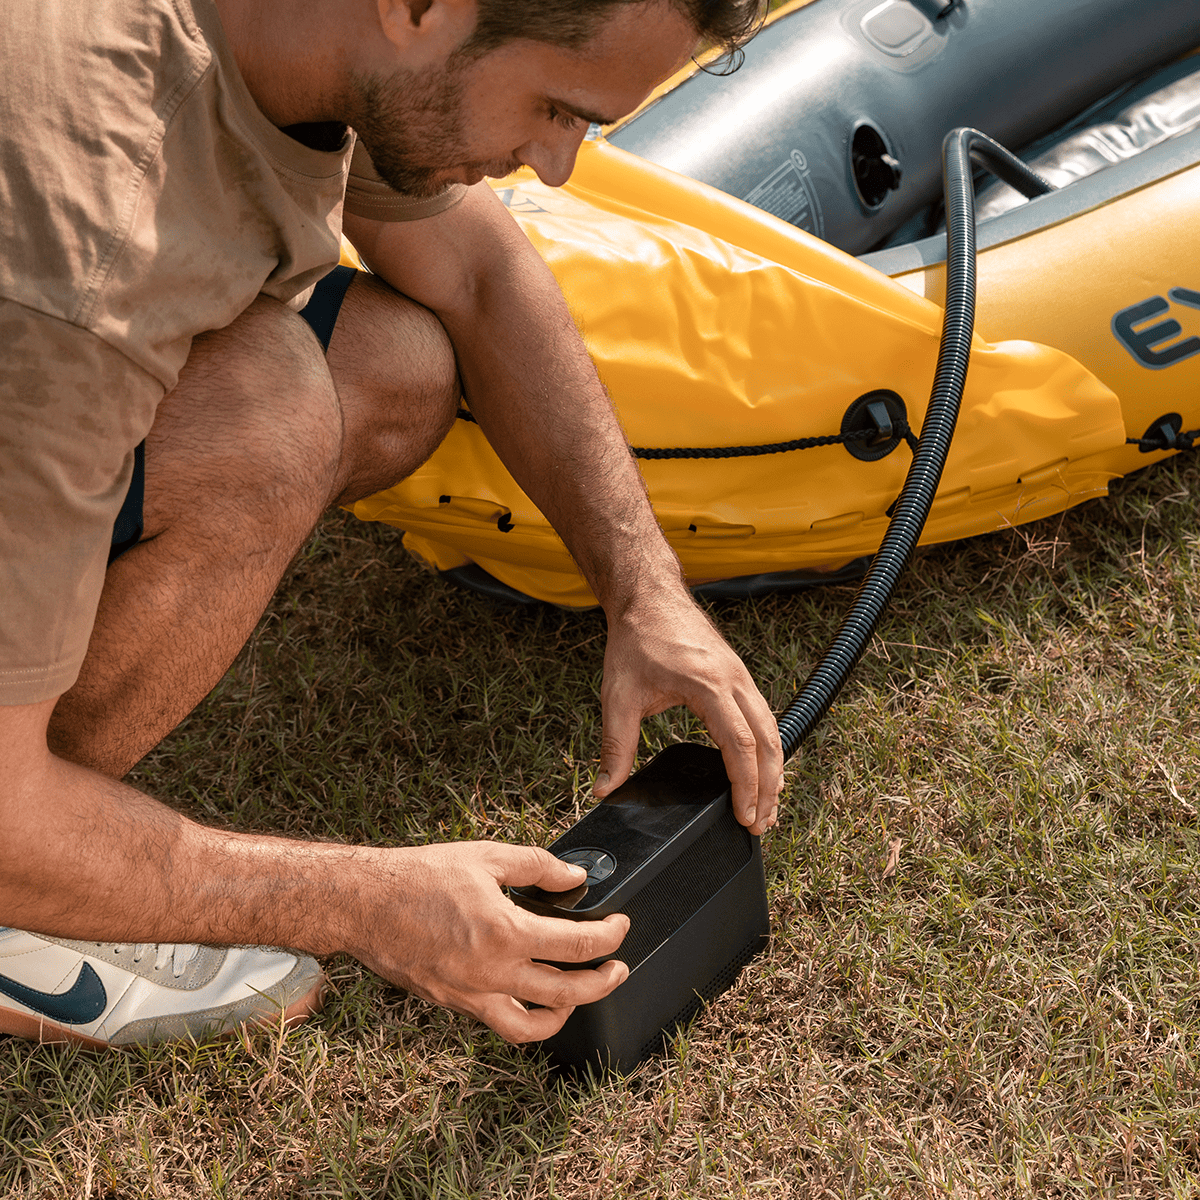
Air Mattress Pump
There are dozens of different air pumps on the market now, but for us backpackers, weight and versatility are the first things that really matter when choosing what makes the cut. If I'm going to carry it miles into the back-country, it has to earn its spot. That's why I've been reaching for the Aerogogo GIGA PUMP 4.0. It weighs only 0.2kg, but the way it changes your camp setup is massive. I usually use it to inflate my mattress and air pillow. But where it really shines is being the "soulmate" to those vacuum bags I metioned earlier. It sucks the air out of my clothes so efficiently that I'm left with all this extra room for my camera gear.
When the sun goes down, it switches roles again. Since it has a hook and a magnet, I usually snap it onto a tent pole or hang it from the roof as my main camping light. It has three level brightness which gives off such a steady, helpful glow for winding down. And here is my favorite pro tip: it is the absolute best fire-starter. If wood is a bit damp or the fire is struggling to catch, I don't bother blowing into the dirt until I'm lightheaded anymore. I just aim the pump at the base of the embers and it gets the flames roaring in no time. Having one tiny device that handles my bedding, my packing, my lighting, and my campfire is exactly what I mean by making a trip feel effortless.
Water Setup
You'll see a lot of hikers carrying those hydration bladders with the long straws, but honestly? They've always felt a bit unhygientic to me - too many hard-to-reach spots for mold to hide. I perfer stick with a trusty, large-capacity plastic bottle. I've actually been using the same Tupperware bottles since my student days. It sounds a bit nostalgic, but they've been through everything with me and they're basically indestructible.
However, I do make one exception for "fancy" gear: a small insulated thermos. There's a certain kind of magic in having hot water read to go when you're shivering on a cold trail. I usually go for Japanese brands like Thermos or Zojirushi because their insulation is just on another level. I'd suggest picking a smaller size, though. You don't need to carry liters of hot tea all day, just enough for a quick warm-up.
My Philosophy on Smarter Backpacking
At the end of the day, backpacking isn't about how much gear you can fit into your bag. It's about how much freedom you can create for you yourself. The more you simplify your essentials, the more energy you have to actually enjoy the scenery, and the more space you have for the things that matter.
I’ve learned the hard way that you don’t need to pack for every "what if" scenario. You just need a system that works for you. Whether it’s using a tiny pump to save your lungs and your space, or sticking to a water bottle you’ve had for a decade, the goal is to make the trail feel like home. Don't be afraid to leave the "extra" stuff behind. Once your pack feels light and your gear feels reliable, you’ll realize that the best part of the trip isn't what’s in your bag—it’s the fact that you’re finally out there.


Leave a comment
This site is protected by hCaptcha and the hCaptcha Privacy Policy and Terms of Service apply.